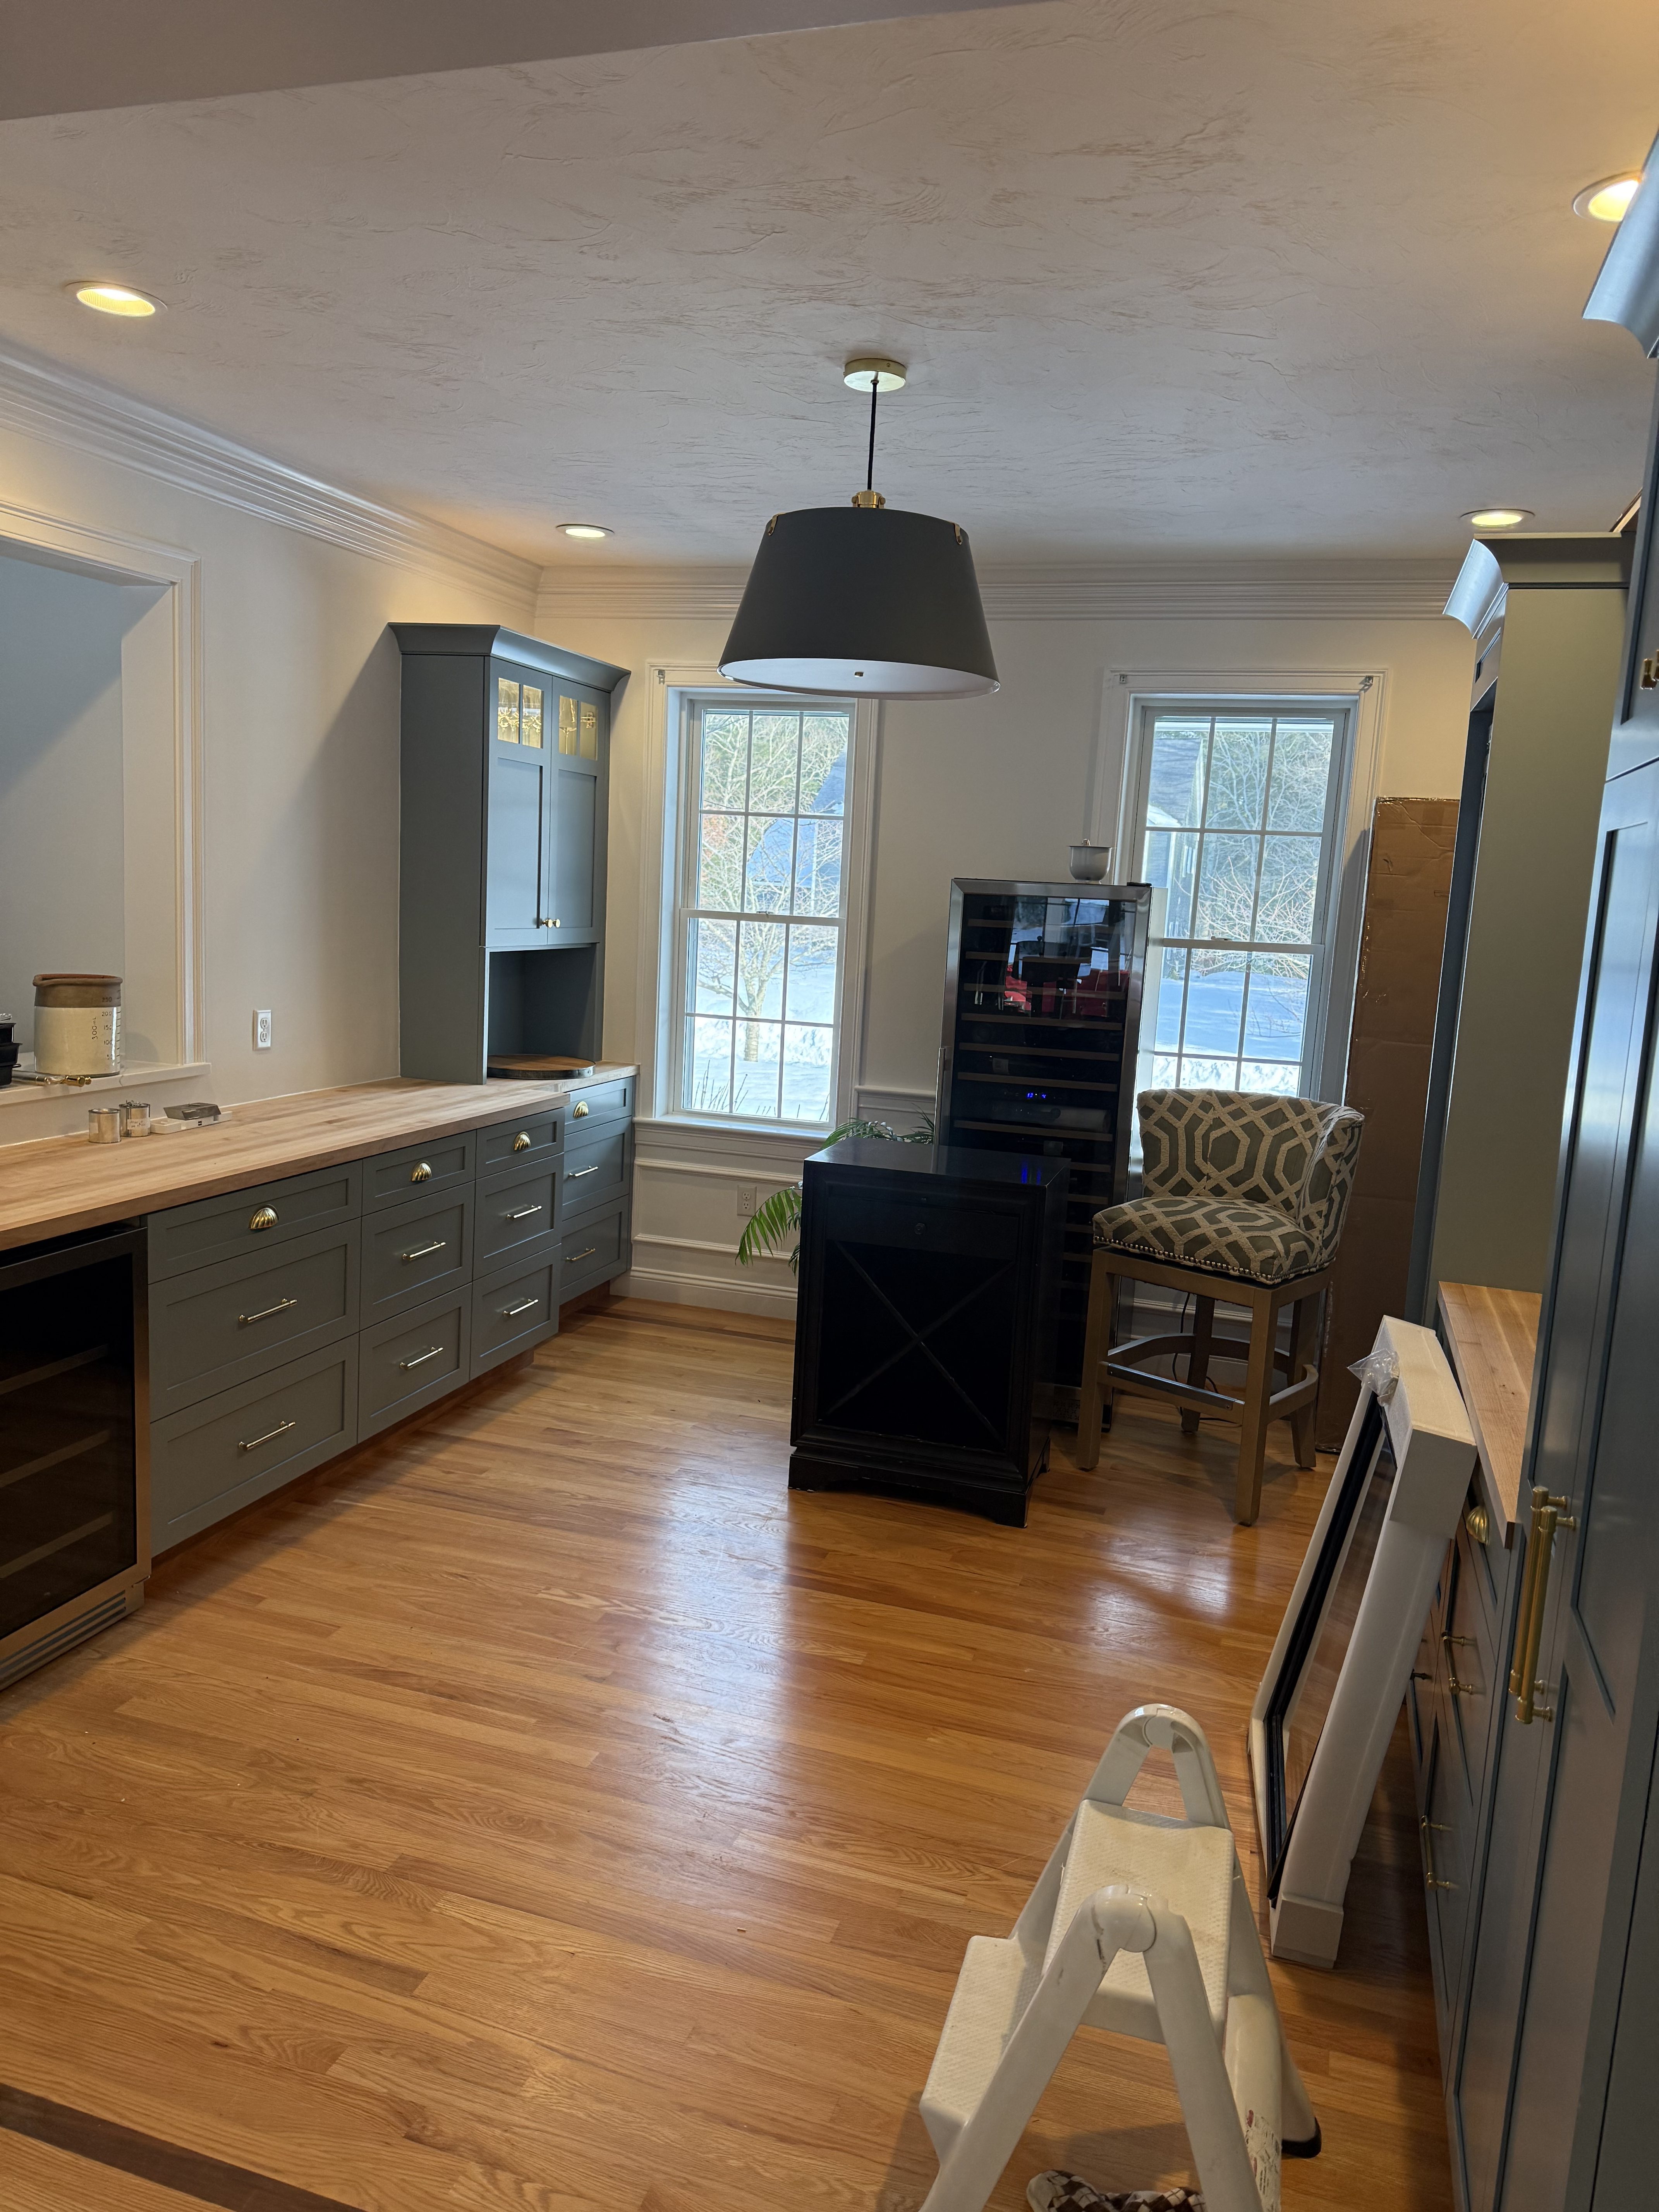
On a new build or an addition, the easiest moment to change your mind about wiring is the rough-in walk-through, when the boxes are mounted and the walls are still open. Bring a tape measure and your furniture plan, look at every room the way you will use it, and add the circuits you will want later while the studs are still bare.
Every new build has a short window when the electrical plan is still soft. The framing is up, the boxes are nailed to the studs, the cable has been pulled, and the insulation has not gone in. Once that crew arrives the walls close fast, and every change after that means cutting drywall.
We ask homeowners to walk that stage with us. Most of what people wish they had done differently in a new house comes down to an outlet in the wrong spot or a circuit nobody thought to ask for, and both are easy fixes while you can still see the framing.
Before the Framing: Load, Panel and Service
The rough-in walk goes best when the electrician joined the conversation earlier. Before framing, the useful work happens on paper: a load calculation for the house as planned, a panel sized with spaces to spare, and a decision about where the service enters and where the panel lives.
Those choices are hard to undo. A panel placed in a finished closet at the far end of the house turns every future circuit into a long, awkward run. A service sized for the house on day one, with no spare spaces, means the first electric car or heat pump forces an upgrade.
For additions, the question is whether the existing service can carry the new space. Sometimes it can. Sometimes the addition is the right moment to move to 200 amps, which is far simpler with walls open than as a separate project later. We fit our schedule to the builder’s, so this planning happens while the plans are still being drawn and the framers are never waiting on us.
Rough-In, Room by Room
At rough-in, every box is on the wall and every cable is visible. Walk each room the way you will live in it. Where does the bed go, and is there an outlet on both sides of it? Which way does the couch face, and is there a box behind where the TV will hang, high enough to hide the cords, with low-voltage cable run beside it?
Kitchens deserve the slowest pass. Hold the outlet positions along the counters against where the coffee maker, the mixer and the charging spot will actually sit. Check that the island has power. Confirm the under-cabinet light feeds land where the cabinets will mount.
Switches get the same treatment. Stand in each doorway and reach for where the switch ought to be. Ask for three-way switches on stairs and in rooms with two entries, and picture the hallway at night.
Mark changes on the studs with tape or a marker while we are standing there together. Moving a box a few inches now takes minutes. After drywall it means cutting, patching and painting.
Three Requests to Make Now
Three asks come up again and again once the walls are closed: a circuit or at least an empty conduit to the garage for a future charger, a transfer switch location beside the panel for a generator that may come years later, and outdoor outlets where the grill and the deck will really be. Our Raynham new build wiring page covers each one; all three cost far less to rough in now than to retrofit.

Pool Houses, Garages and Outbuildings
Detached buildings are where planning pays off most, because the power has to get there underground. A pool house, a detached garage, a workshop, or a shed with real power needs a feeder from the main house sized for what the building will do, laid in a trench before the landscaping goes in.
Those buildings usually want more than a single outlet. The pool house in the photo above carries three ceiling fans with light kits, recessed lighting and wall-mounted TVs, along with a kitchenette, which adds up to several circuits and often a subpanel of its own. Switches belong where someone walking in with wet feet expects to find them.
Anything near a pool brings its own bonding and protection requirements, and the inspector looks at them closely. Outdoor and pool-side outlets need GFCI protection, and their placement relative to the water gets planned rather than guessed.
How we handle new construction, additions and outbuildings in town is laid out on our Raynham new build wiring page.
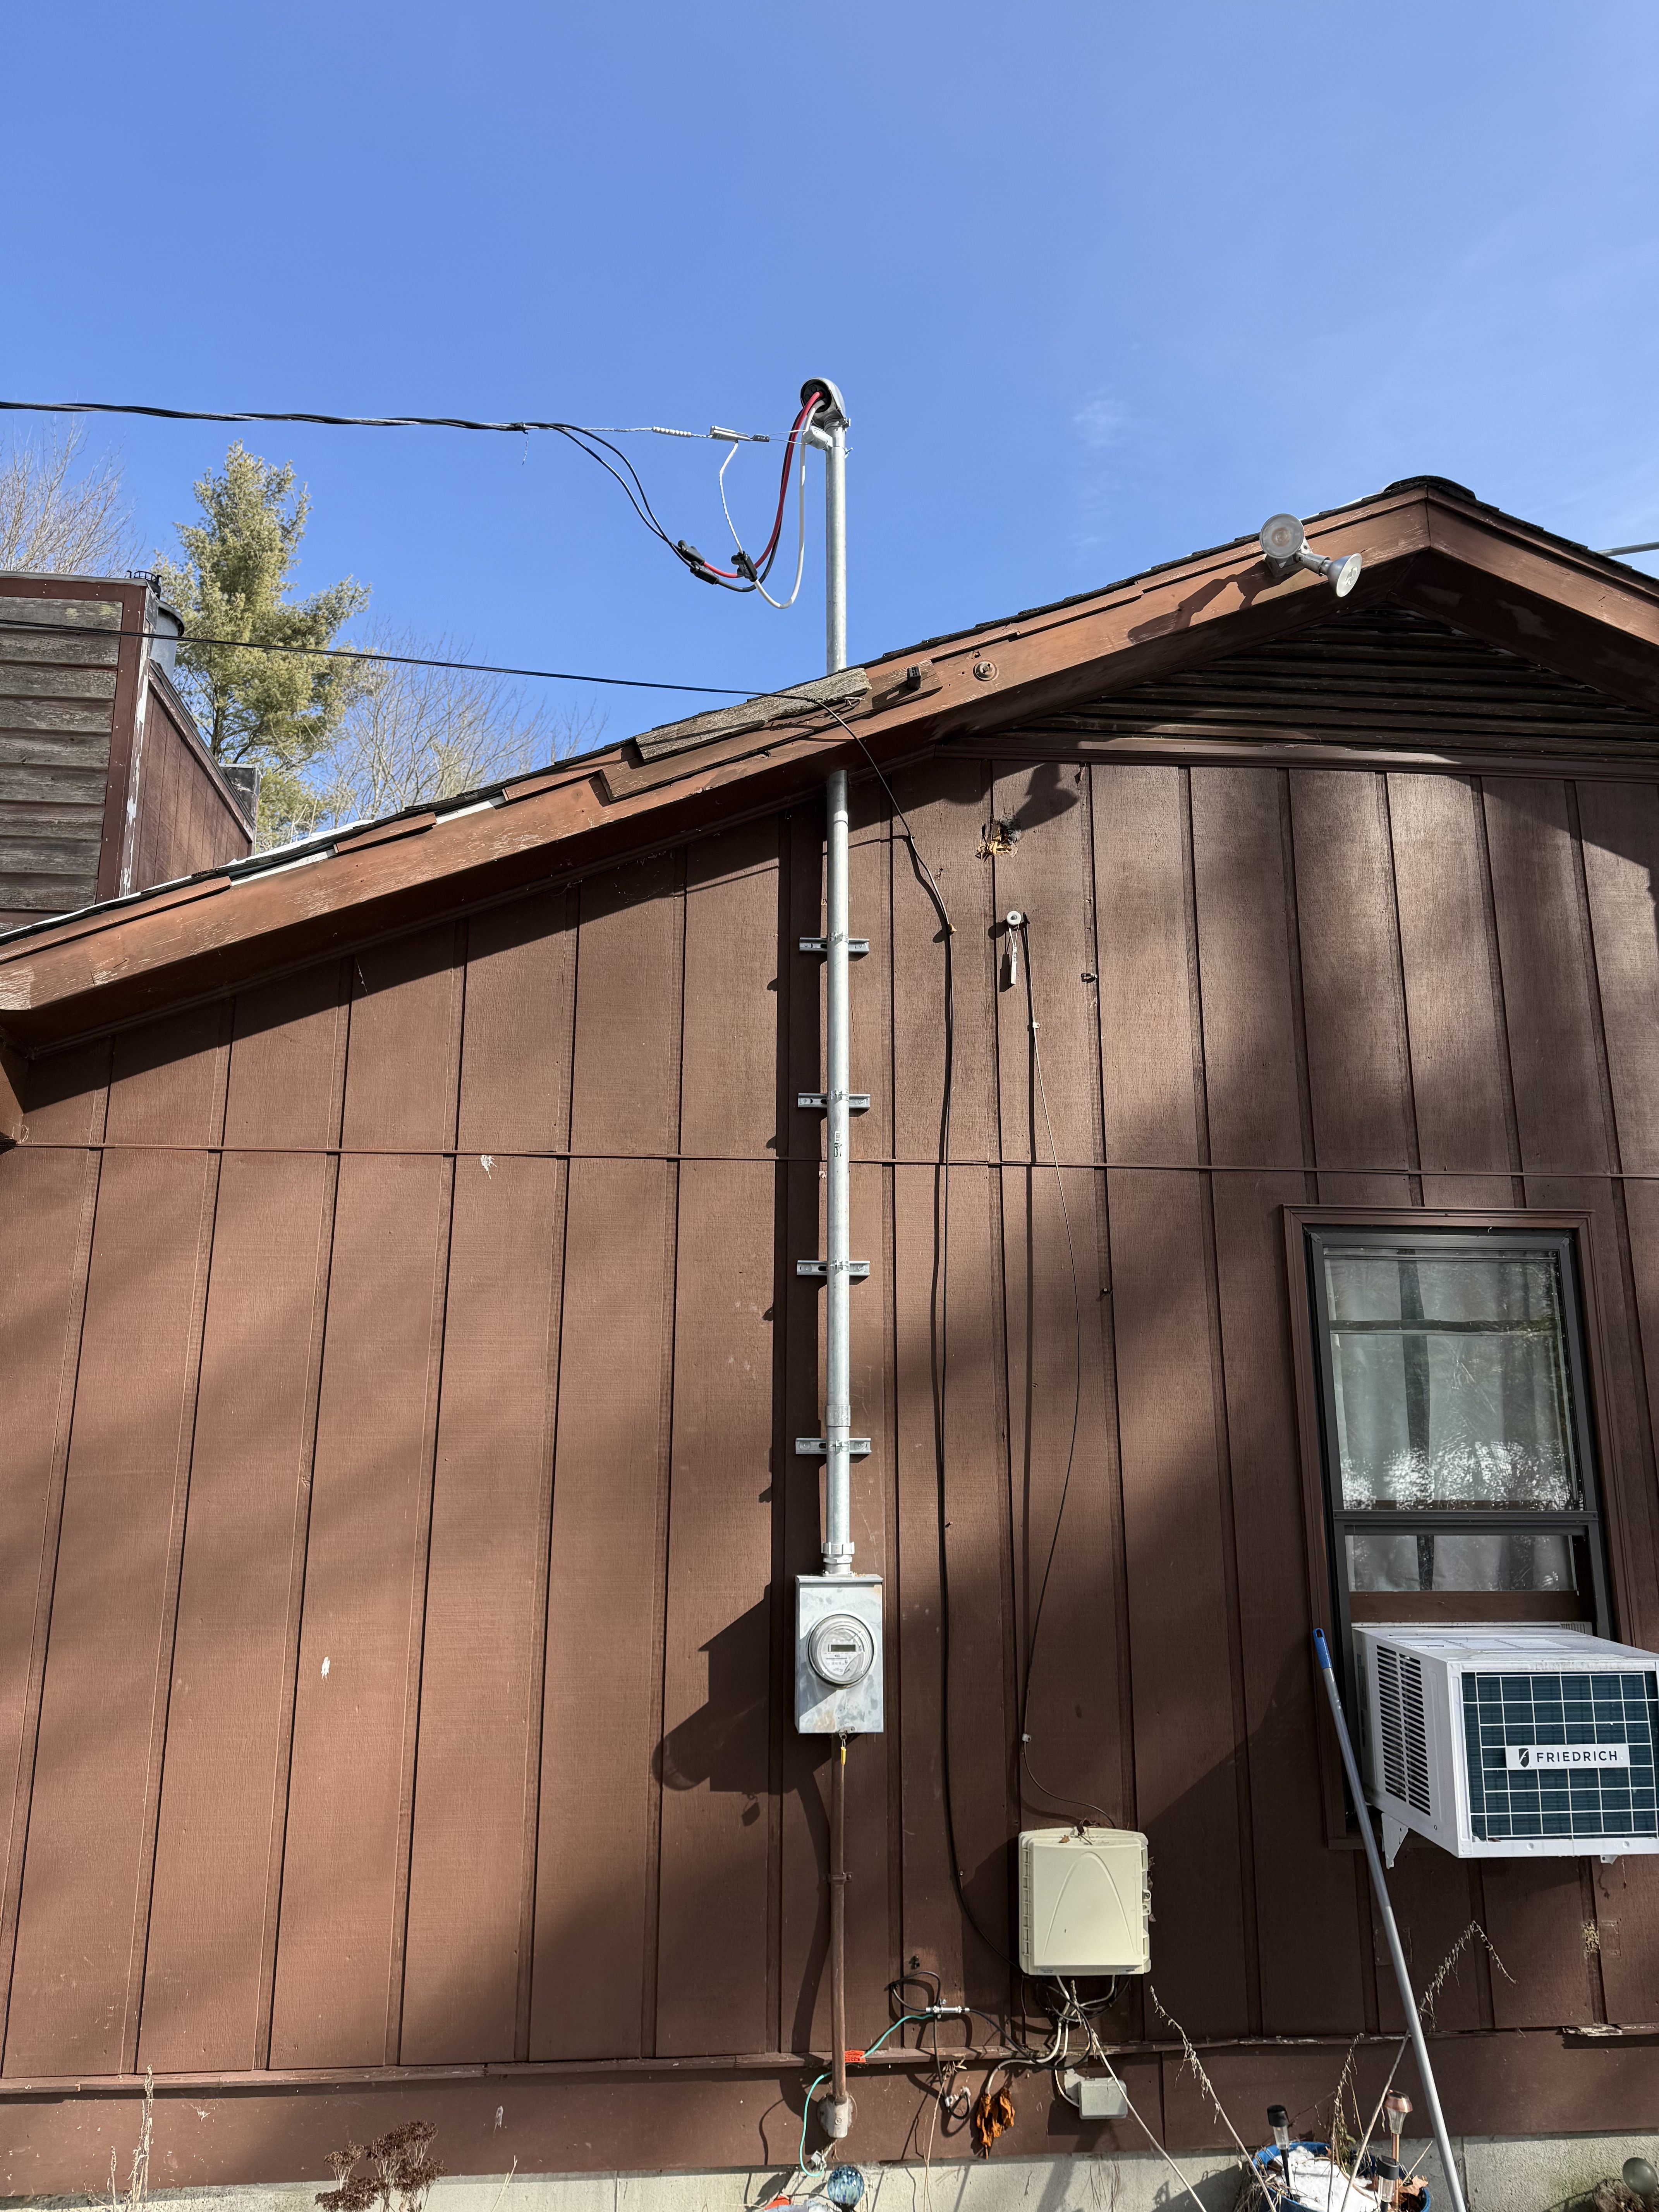
Trim-Out, Final Inspection and the Panel Map
After the rough-in walk, the Town of Raynham wiring inspector looks at the open work before insulation goes in. Tyler pulls the permit under his own license and meets the inspector at rough-in and again at final.
Trim-out follows paint. Devices go in, fixtures hang, breakers land in the panel. This is the second moment to look around: a box you moved at rough-in should now hold an outlet exactly where the furniture plan said it would.
At the end, the labeled panel diagram goes inside the door, matching every breaker to a room. On a new house that diagram is the first piece of documentation the home owns, worth photographing and keeping with the closing papers.
When an addition ties into an older home, we look at the existing panel at the same visit. A tired one is easier to sort out as panel repair before new circuits land in it.
New Build Wiring Questions
What should I check at trim-out?
Walk the house again once devices and fixtures are in. Check that every box you moved at rough-in now holds its outlet or switch where the furniture plan said, that three-way switches work from both ends, and that the panel diagram inside the door matches the rooms. Photograph that diagram and keep it with the closing papers.
Can I add outlets after the rough-in inspection?
Before insulation, usually yes, and it may mean a quick follow-up look from the inspector. After insulation and drywall it is still possible, but every new box means cutting into a finished wall and fishing cable through insulation. That is why we push for the walk-through. It is the last easy chance to move, add or remove a box.
Do I need my own electrician if the builder has one?
Not necessarily. If your builder already has an electrician, ask to walk the rough-in with them before insulation goes in. If you are running your own addition or outbuilding, or the builder leaves the electrical to you, that is where we come in, working to the builder’s schedule from the first plans through final inspection.
The rough-in walk-through decides how the house works for as long as you own it. Bring the furniture plan and your questions.
Framing going up soon?
Get Tyler on the plans early and set a date for the rough-in walk before the insulation crew is booked.
Set up the rough-in walk Call or text (508) 818-3165New build wiring · Panel upgrades · Start a conversation · Our gallery